

Verdunity Handbook
Handbook Sections
OPS 4.2.2 – Methodology
Setup the LUFA
Version 1.0 (March 25, 2026)
Introduction
Use Verdunity templates, refined over many years, to start a new project. As each project is completed, the template may be updated as the team learns new ways to be efficient and effective.
Scope
Need to Describe the scope of the this process. (Whom and what its used for, mainly.)
Step 1
Make a copy of the LUFA workbook.
Navigate to the Fiscal Templates folder on Dropbox. Make a copy of the Excel file LUFA Workbook_CITY NAME.
Move and name the Workbook.
Paste the template into the 3.1 LUFA Workbook folder within the project folder on Dropbox. Add the client/city name in the title of the workbook.
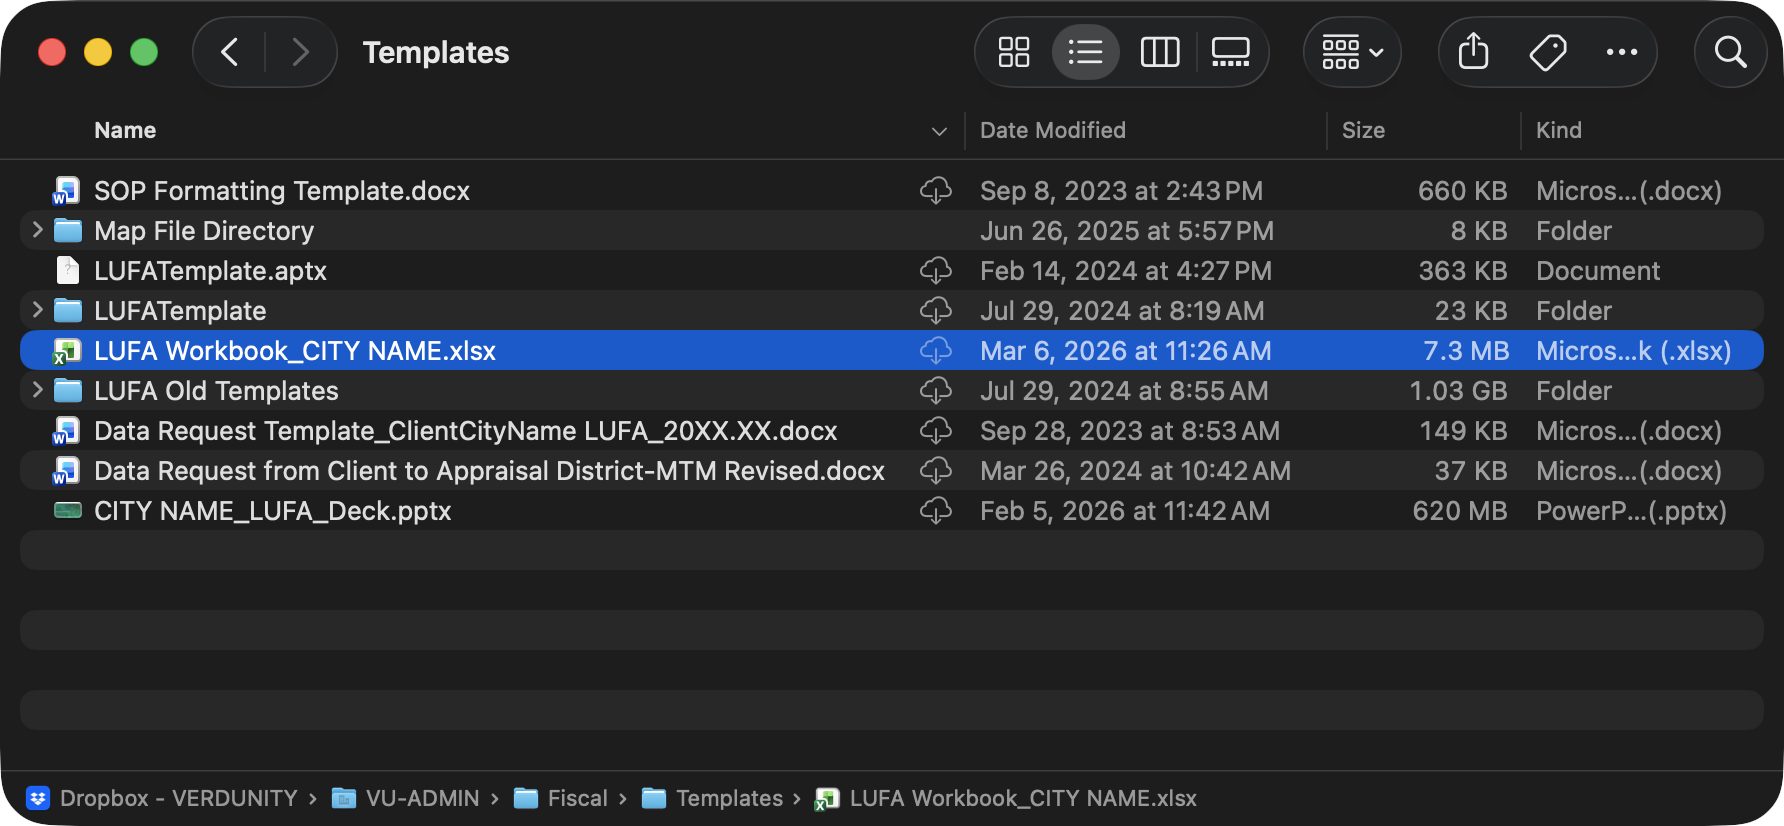
/Dropbox-VERDUNITY/VU-ADMIN/Fiscal/Templates/LUFA Workbook_CITY NAME.xlsxStep 2
Change any references to City or County in LUFA workbook.
Within the workbook there are a number of locations in which placeholders exist. These need to be updated to the name of the relevant client specific names.
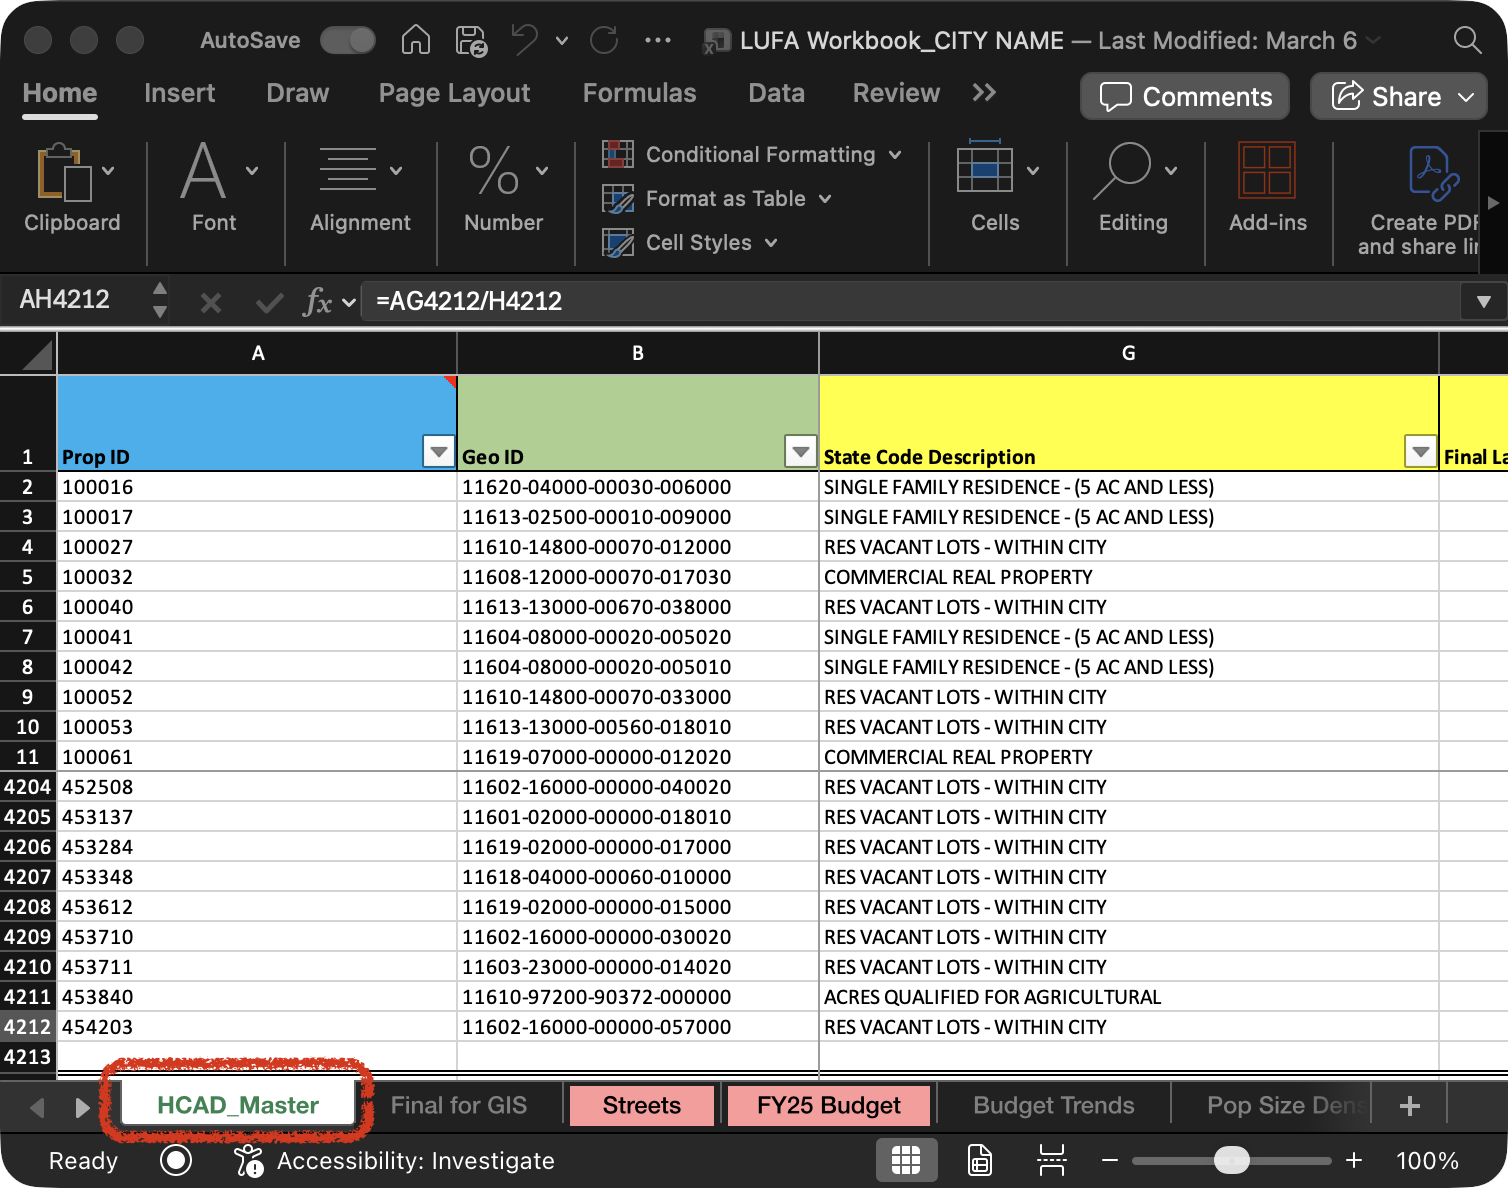
Replace Appraisal District place holders in the Worksheet Tabs.
CoHuCAD_Master for in Collin and Hunt CountiesBRCAD_Master in Brazos county
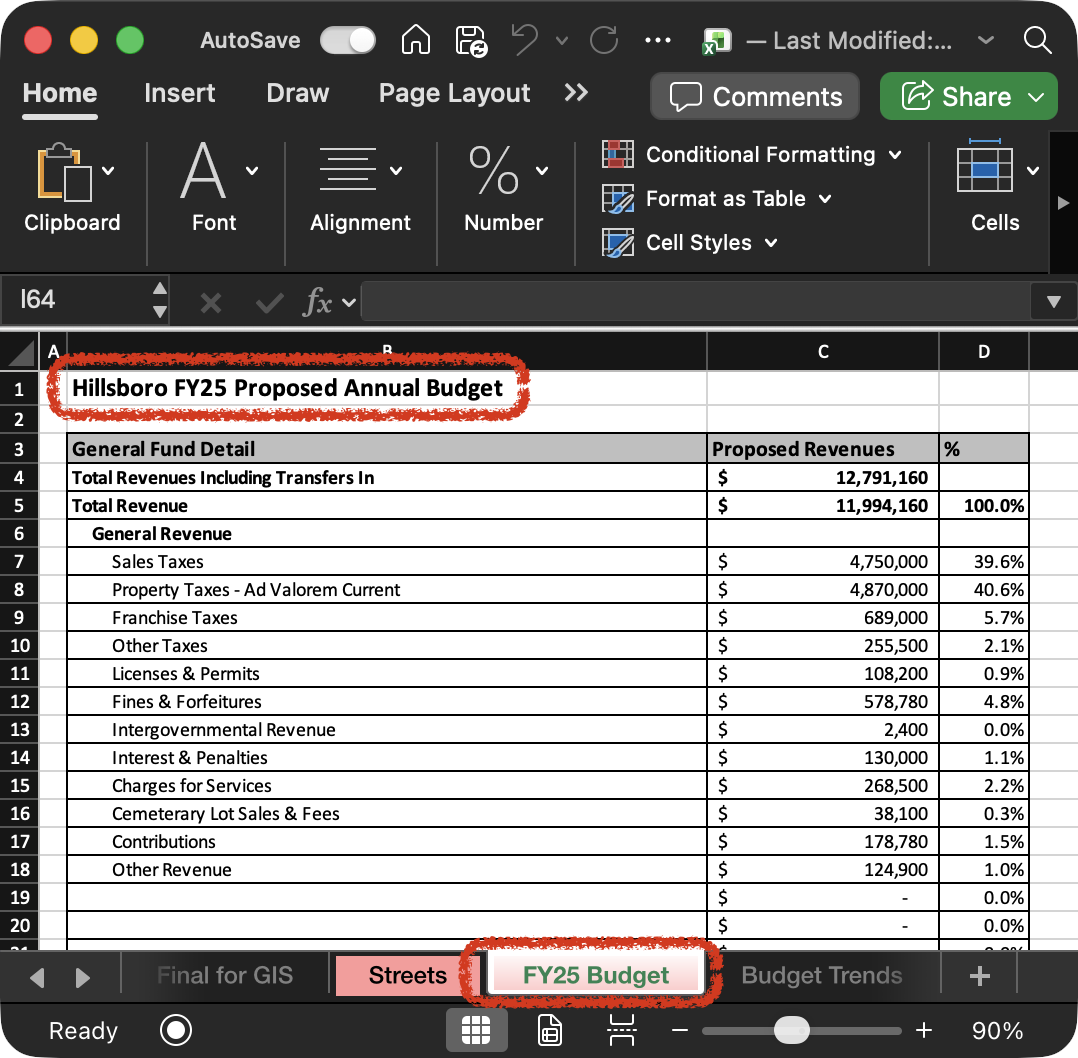
Replace the City Name place holders on the FYXX tab and Specify the Fiscal Year as a two digit year.
Replace the Budget Year place holders on the Budget Trend tab and the Pop Size Dens tab
Step 3
Create the Project in GIS.
Within ArcGIC Pro(Accurate?) navigate to the LUFA template by clicking Start with another template located on the right of the screen. Utilize the folder path below to find our most current template.
/Dropbox-VERDUNITY/VU-ADMIN/Fiscal/Templates/LUFATemplate.aptx
Name the Project.
We utilize the structure “City Name LUFA”, or “County Name LUFA”, or “Jurisdiction LUFA”.
Step 4
Setup the GIS Project.
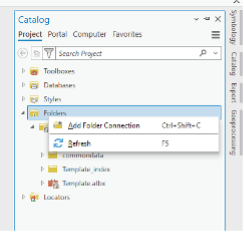
Ensure the Catalog Pane is open. This is accessible from View>Catalog Pane in the Ribbon.
Open the Folders option and right-click, select Add Another Connection and navigate to the data folder created that houses the copy of the county/city GIS data. This will permanently link to the data folder.
Step 5
Create Maps.
In the ribbon, navigate to Insert>New Map>New Map.
Create 3 maps and name them in the catalog pane Streets, Tax Maps, and LUFA Master.